Just a pizza. Made by me. That is all.

If you don't like something, eat it.

Just a pizza. Made by me. That is all.

I’ve been experimenting with low-knead, and no-knead doughs. I’ve come to the conclusion for the home baker at least, there is zero need for a mixer, and when kneading by hand, if you’re doing a cold ferment you can get away with very little kneading.
If you have an infirmity in your hands, and you can’t knead dough then by all means use a mixer. Or if you are making large batches of dough, then you need a mixer. But to make 3 or 4 or even 8 to 10 pizzas, skip the mixer. Knead by hand, and only knead for a couple of minutes. Any longer is not necessary in my experience.
My low-knead dough is so good, I’m seriously perplexed as to why so many recipes have you mix the living daylights out of the pizza dough. There’s no way I’m the first to discover this. No-knead bread doughs are common. I’ve not stumbled onto some cosmic hidden secret. I have a serious question; why? Why are you mixing your dough so long?
I had one person on Facebook tell me my no knead pizza was “odd.” Huh? I thought the comment was odd, especially since it was coming from someone who is a very experienced home cook and baker.
Maybe low-knead/no-knead pizza doughs are a great cosmic secret.
I have not tried a same-day low knead dough. It may not work. I cold proof all my doughs at least 24 hours. Gluten will form during cold fermentation, and that’s important to understand. We don’t need to create a strong gluten structure when we knead or mix, time will do it for us.
The texture of a low-knead dough is nothing short of remarkable. My taste in pizza is heavily influenced by two people. Chris Bianco and Dan Richer, of Pizzeria Bianco, and Razza Pizza Artigianale, respectively. Both their pizzas are exceptionally light, airy, crisp and chewy, but tender. That’s what I’m shooting for when I make pizza. I want my pizza to be light. I want it to be what I call “tender/chewy.” Mixing less creates a more tender crumb that still has plenty of the chewiness you expect of good pizza. It helps to make the pizza light, and that lightness aids crispness. The pizzas I’ve made using this method are an absolute joy to eat. And, if you’re used to dense, heavy, overly-chewy, bready pizza, try my method. You may be surprised at just how good homemade pizza can be.
Low-knead/no-knead pizza dough.
Use any flour you like. High gluten flours work better for a no-knead dough.
Put everything in a bowl, and stir until it forms a shaggy dough. Then knead in the bowl until it forms a dough, about 45 seconds. For a no-knead dough, cover and refrigerate for at least 24 hours, longer is better.
For low-knead dough, cover, and allow to rest for 30 minutes. Then, place the dough on a counter and knead by hand for two minutes. Cover and refrigerate for at least 24 hours, up to 96. 72 hours is best and will create a lighter, more crisp crust, though I’ve had excellent results letting the dough sit in the fridge up to five days.
After the cold ferment, ball the dough, cover, and proof at room temperature for about three hours before baking.
Bake in a 550F degree oven. Use convection if you have it. Place your stone or steel on the top most rack. Preheat at least 45 minutes. Bake the pizza for about three minutes, then turn on the broiler. Watch closely and pull from the oven when the crust is nicely browned and has some char, about two minutes.
If you have a high heat pizza oven, omit the sugar and oil. Cook accordingly.


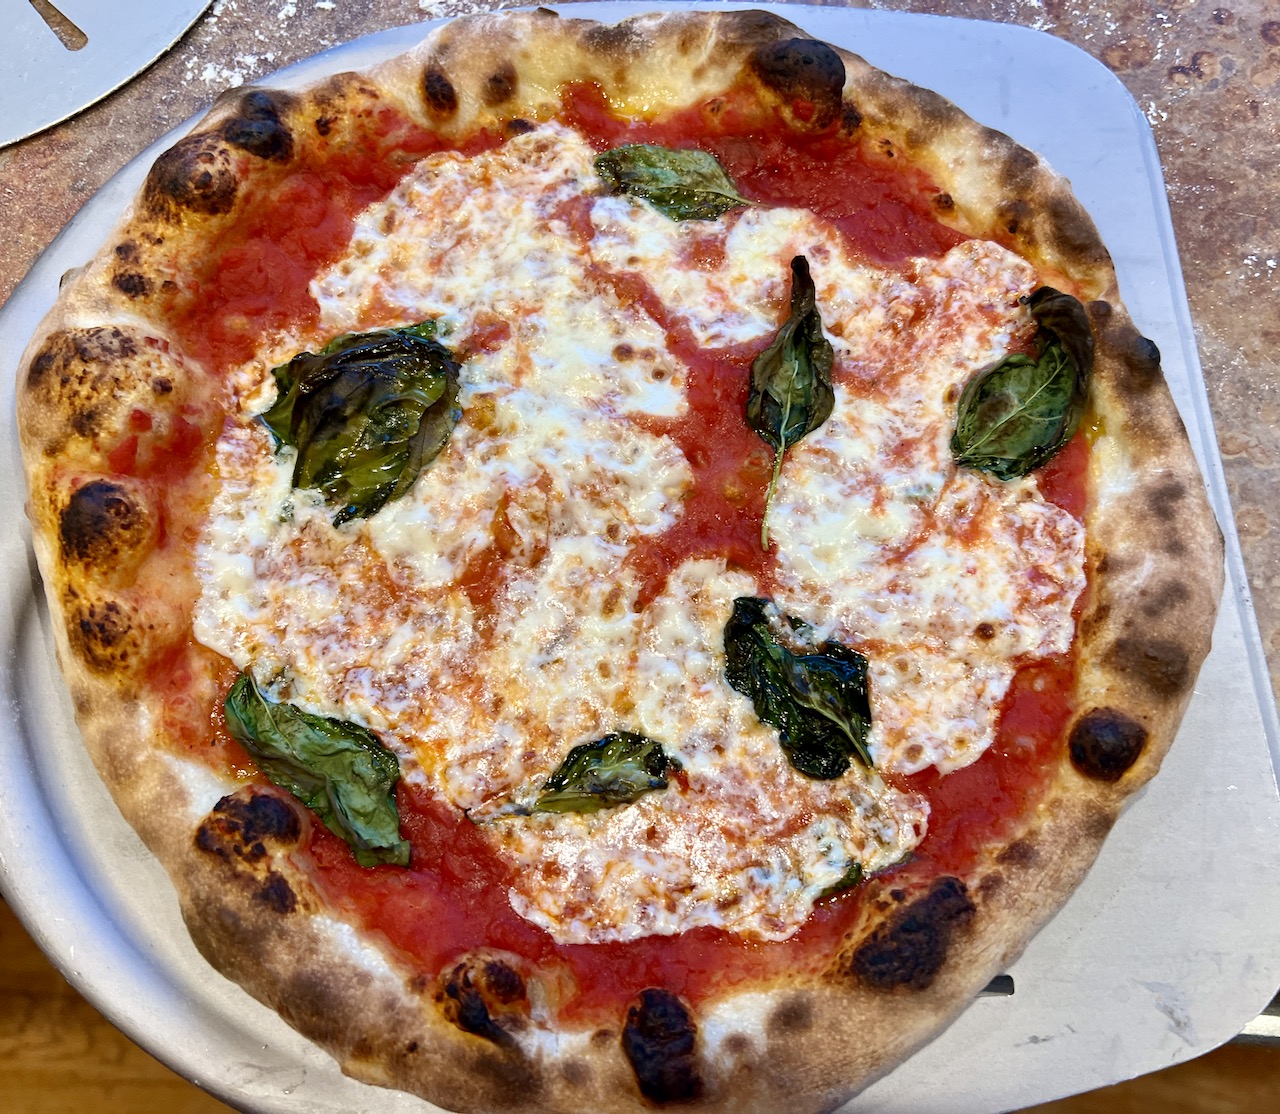

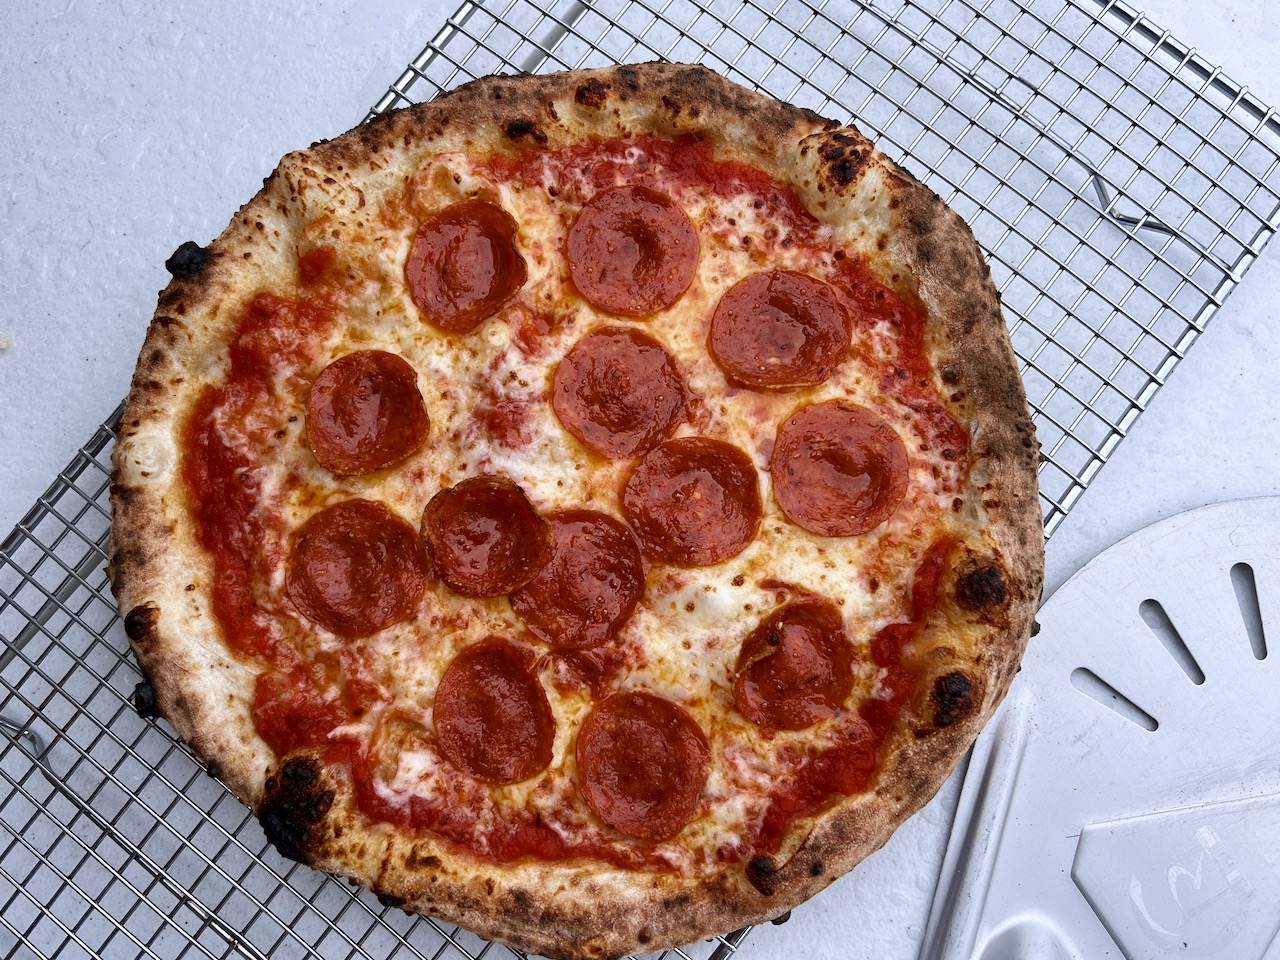

Years ago, I fell in love with Neapolitan-style pizza. I loved its light, airy, char-speckled crust. It was a revelation to me. But really, that revelation was due to never experiencing great pizza and growing up in an area where mediocre pizza was the norm. As time has worn on, and I’ve eaten dozens of styles of pizza all over the country, in literally hundreds of pizzerias, I’ve cooled on Neapolitan style a bit
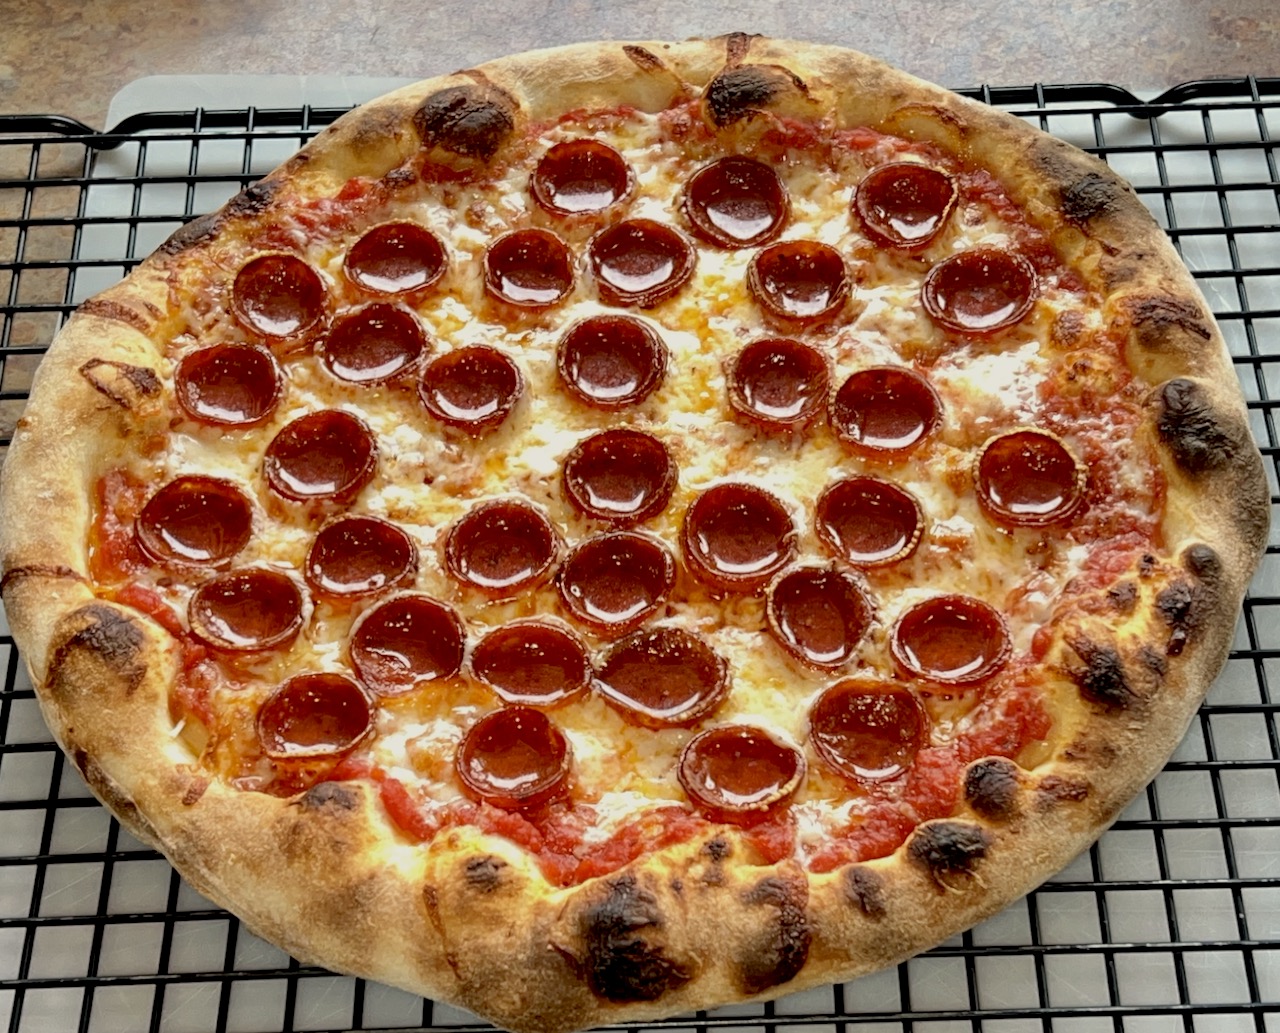
I am a big fan of a neo-Neapolitan style. Still light and airy, but not as thin and soupy as Neapolitan and with some crunch, too.
I’ve been working on perfecting a neo-Neapolitan style and have come close to my ideal. These pizzas have a light, and tender/chewy crust with a little crispness.
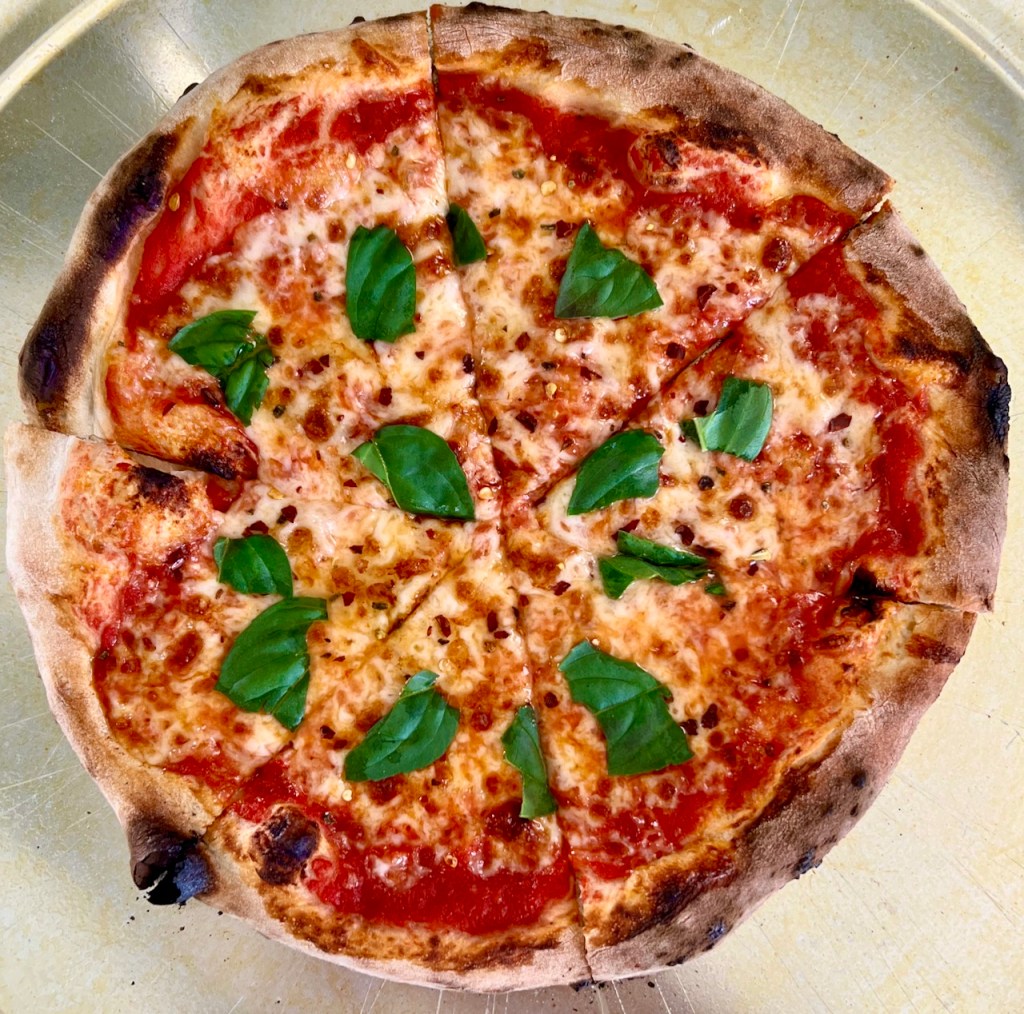
This dough is 64% hydration. It’s a mix of 60% Caputo Pizzeria, and 40% Caputo Chef’s flours. 24-hour fermentation. Cooked at 800F for two and half minutes.


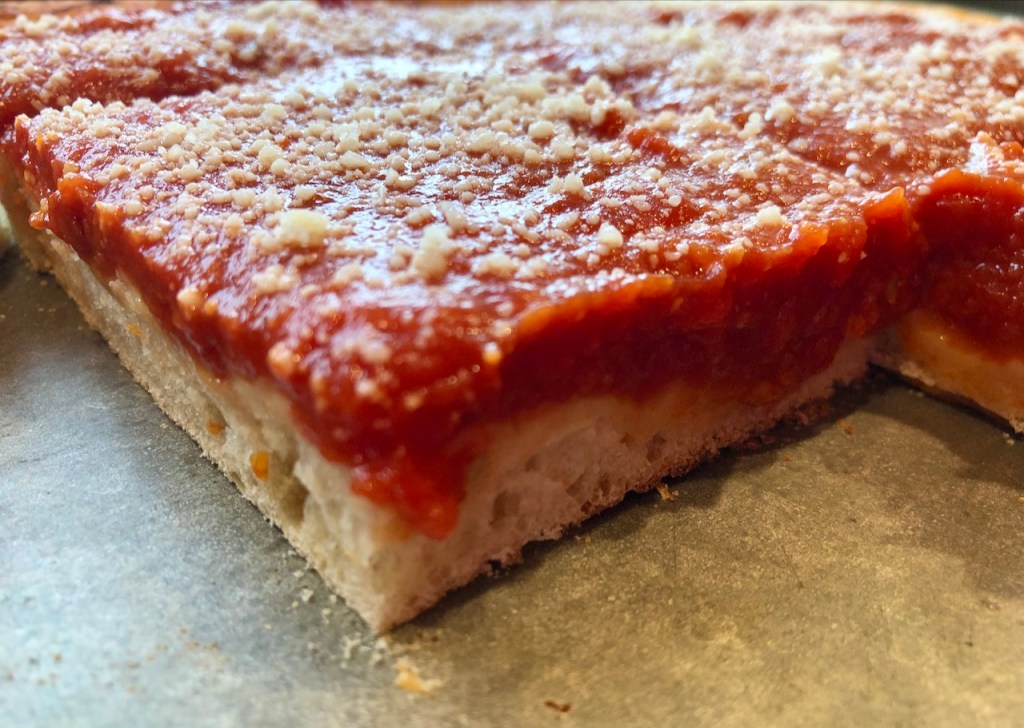
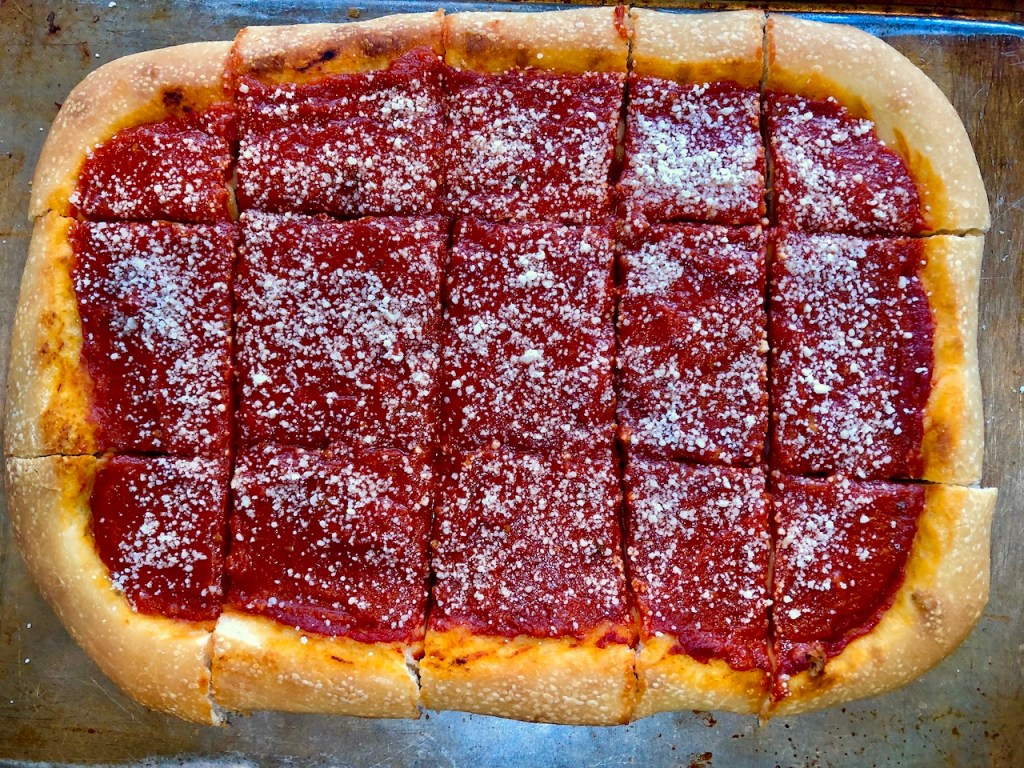
I used Roma Sausage—Utica’s most famous tomato pie—as my template when I set out to make a facsimile. In my opinion, what makes Roma’s pies so special is the sauce. The sauce is laid down in a thick layer, and one gets lots of that deliciousness in each bite. The sauce is simple and tomato forward. Its balance of salt and sweetness is nearly perfect.
Utica tomato pie is working-class fare. It’s supposed to be cheap eats. This is not gentrified fare we’re creating. I used inexpensive crushed tomatoes.
I added nothing to the tomatoes except some tomato paste for body, salt, and a little sugar to get the salty/sweet balance just right. I cooked it just long enough to thicken it up a bit.
I didn’t want the sauce to cook in the oven. I wanted a light, bright sauce, not one that’s concentrated and cooked down like an Italian gravy. The pizza will spend a reasonable amount of time in the oven, and the sauce will further cook during that time. When I baked the pie, I put only a very thin layer of sauce to prevent the crust from browning. I added most of the sauce post-bake.
I was delighted with the result. The eating experience and flavor profile were very similar to Roma’s.
My tomato pie is on the left. On the right is Roma’s tomato pie.